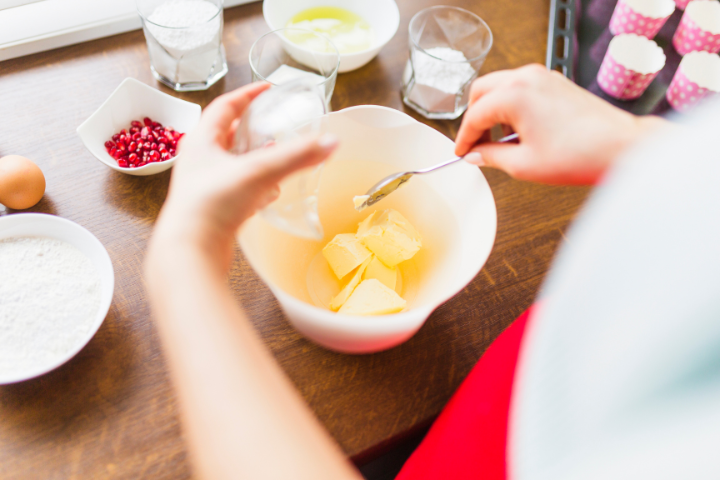
Butter has been a staple in human diets for thousands of years. The origins of butter-making can be traced back to ancient civilizations, where it was considered a luxury item. Early butter was made by shaking cream in animal skins or by churning it in simple containers. It was highly prized not only for its flavor but also for its versatility. Butter could be used for cooking, as a spread, or even in religious ceremonies. Over time, different cultures developed their own methods for how to make butter, leading to variations in taste and texture. Despite the advancements in technology, the basic principles of how to make butter remain largely unchanged. Today, the process is much more refined, allowing anyone to make butter at home with just a few ingredients and some simple equipment.
The Science Behind Butter-Making
Understanding how to make butter also involves a basic grasp of the science behind the process. Butter is essentially an emulsion, meaning it’s a mixture of two substances that don’t typically combine—in this case, fat and water. When cream is agitated through churning or shaking, the fat molecules in the cream separate from the liquid (buttermilk) and clump together to form butter. The process of making butter can take different forms depending on the equipment used, but the underlying science is the same. The fat content in the cream is critical to the quality of the final product, and higher-fat cream generally produces richer butter. This explains why traditional methods of how to make butter often emphasize the use of heavy cream.
Ingredients for Making Butter
Before learning how to make butter, it’s essential to gather the necessary ingredients. Fortunately, the ingredient list is quite simple:
- Heavy cream (at least 35% fat content)
- Salt (optional, for salted butter)
With just these ingredients, you can create fresh, homemade butter in your kitchen.
How to Make Butter: Step-by-Step Process
Step 1: Prepare the Cream
Start by pouring the heavy cream into a large mixing bowl. If you prefer salted butter, you can add a pinch of salt to the cream. The salt not only enhances the flavor but also acts as a preservative, extending the shelf life of the butter.
Step 2: Begin Churning
The key step in how to make butter is churning the cream. If you have a stand mixer or a hand mixer, use it on a medium speed to churn the cream. As the cream whips, you’ll notice it turning into whipped cream, but keep going. The process takes about 10 to 15 minutes. Eventually, the cream will start to clump together and separate from the buttermilk, forming a yellowish mass—that’s your butter.
Step 3: Separate the Buttermilk
Once the butter has formed, you’ll need to separate it from the buttermilk. Pour the contents of the bowl into a sieve or cheesecloth to drain the liquid. You can reserve the buttermilk for other uses, such as baking or cooking.
Step 4: Rinse the Butter
After draining, it’s important to rinse the butter under cold water. This step helps to remove any remaining buttermilk, which can spoil the butter if left inside. Gently knead the butter with a spatula or your hands while rinsing it to ensure all the buttermilk is removed.
Step 5: Shape and Store
Finally, shape the butter into a block or a ball and wrap it in parchment paper or place it in a container. Store it in the refrigerator, where it will keep for about two weeks. If you’ve made a large batch, you can also freeze the butter for longer storage.
Tips for Perfect Butter
While learning how to make butter, you might discover some tips and tricks that work best for you. For instance, using fresh, high-quality cream will yield the best results. Additionally, you can experiment with adding herbs, garlic, or spices to create flavored butter. Whether you prefer your butter salted or unsalted, the homemade version will undoubtedly add a special touch to your meals.


GIPHY App Key not set. Please check settings