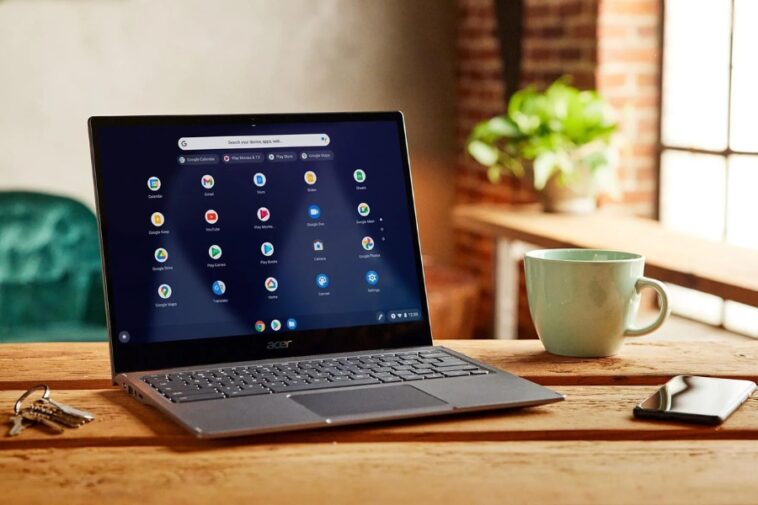
Knowing how to screenshot on Chromebook can help you be more productive and share information more effectively. Taking screenshots on a Chromebook is a quick and essential skill, whether you’re capturing important information, sharing a moment from a video, or saving something for future reference. There are a few simple steps and key combinations to take either a full-screen capture or a partial screenshot.
About Chromebooks
Chromebooks, powered by Google’s Chrome OS, have become increasingly popular due to their affordability, simplicity, and efficiency. Unlike traditional laptops, Chromebooks rely heavily on cloud storage and Google services, making them lightweight and easy to use, especially for students, professionals, and people who need a simple system for everyday tasks. Understanding how to screenshot on Chromebook can be one of the many helpful tools for getting the most out of your device. The ability to capture your screen is invaluable for various activities, including creating tutorials, troubleshooting, or simply saving information.
-
Full-Screen Screenshot
The most common way to take a screenshot on a Chromebook is to capture the entire screen. To do this, press the “Ctrl” key and the “Show Windows” key (which looks like a rectangle with two vertical lines) at the same time. This combination will capture the entire screen, and the screenshot will automatically save in your “Downloads” folder. Learning how to screenshot on Chromebook this way is beneficial when you want to capture everything visible on your screen at once, whether for work, study, or personal use.
-
Partial Screenshot
If you only need to capture part of the screen, learning how to screenshot on Chromebook for a specific area is just as easy. Press “Ctrl,” “Shift,” and the “Show Windows” key simultaneously. After pressing these keys, your screen will dim slightly, and a crosshair will appear, allowing you to click and drag to select the area you want to capture. This method is useful for situations where you don’t want to share your entire screen, just a portion of it, such as a segment of a webpage or a specific image.
-
Screenshot Using Stylus
For Chromebook models that support a stylus, taking screenshots can be even more intuitive. Using the stylus, you can access a screenshot tool from the stylus menu and either take a full-screen or partial screenshot. Knowing how to screenshot on Chromebook with a stylus is particularly useful for artists, designers, or anyone using a Chromebook in tablet mode. This method offers greater flexibility and control when capturing images or portions of your screen.
-
Editing Screenshots
Once you’ve learned how to screenshot on Chromebook, you might also want to edit the captured image. Chromebook makes it easy to edit screenshots directly. After taking the screenshot, open it in the built-in image editor found in the “Downloads” folder. You can crop, rotate, and annotate your screenshots as needed. This is handy for adding notes, highlighting sections, or preparing the image for presentations. Simple editing tools make it easy to customize your screenshots according to your needs.
-
Copying Screenshots to Clipboard
Another feature you should know after learning how to screenshot on Chromebook is how to copy screenshots to the clipboard for pasting directly into documents or emails. After taking the screenshot, press “Ctrl” and “C” to copy the image from your “Downloads” folder, and then “Ctrl” and “V” to paste it wherever you need it. This feature is helpful for sharing screenshots instantly without needing to upload or save them first.
-
Saving Screenshots to Google Drive
If you prefer saving your screenshots directly to cloud storage, Chromebooks make it easy to do so. After learning how to screenshot on Chromebook, you can upload your captured images directly to Google Drive. This is especially useful if you’re working across multiple devices or want to share the screenshot with others quickly. Simply drag the screenshot from the “Downloads” folder into Google Drive, and it’s ready to share or access from anywhere.


GIPHY App Key not set. Please check settings