Understanding how to make a paper airplane isn’t just about folding paper. Paper airplanes have been a popular pastime for generations, offering a fun activity for children and adults alike. It involves the principles of flight, such as lift, drag, and aerodynamics. The way you fold the paper affects how far or straight your plane flies, making it a great way to know the basic science of flight. Whether you’re looking for a quick project to entertain kids or you want to compete for the longest flight, knowing how to make a paper airplane can provide hours of enjoyment.
The origins of how to make a paper airplane can be traced back to ancient China and Japan, where the art of paper folding, or origami, first emerged. While origami primarily focused on creating beautiful objects, it also led to the development of functional items like paper airplanes. Leonardo da Vinci is even thought to have created early versions of paper airplanes as part of his studies on flight. In modern times, making a paper airplane has evolved into a hobby and competitive sport, with enthusiasts designing planes for distance, aerobatics, and endurance. Mastering how to make a paper airplane not only sparks creativity but also offers a fun way to know engineering principles.
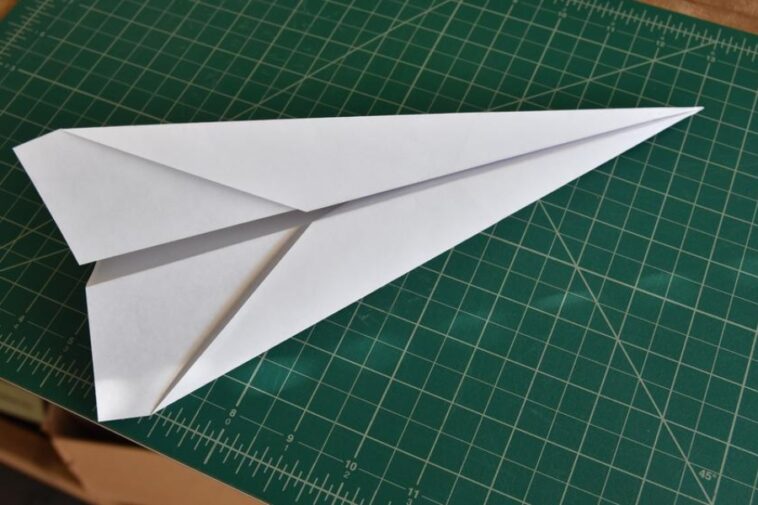
12 Steps on How to Make a Paper Airplane
1.Start with a rectangular sheet of paper – Standard 8.5 x 11-inch printer paper is ideal for learning how to make a paper airplane, as it offers the right balance of weight and size for smooth flight.
2.Fold the paper in half lengthwise – Align the edges of the paper carefully and fold it down the middle. This step creates a center crease, which will serve as a guide for the rest of the folds.
3.Unfold the paper – After folding, open the paper back up to its full size. The crease in the center should now be visible and will help you align the folds in the upcoming steps.
4.Fold the top two corners inward – Bring the top left and top right corners toward the center crease. They should meet in the middle, forming two right-angled triangles. This step is crucial in creating the airplane’s sharp nose.
5.Fold the triangular top down – Fold the top part of the plane (where the two triangles meet) down so that the point reaches the bottom of the paper. This forms a pointed tip, which is essential for the plane’s aerodynamic design.
6.Fold the paper in half along the original crease – Once the triangular nose is formed, fold the paper back in half along the original center crease. The pointy side should now be on the outside.
7.Create the wings – To make the wings, fold down the top edges of each side to align with the bottom of the plane. Make sure the wings are even on both sides, as this will determine how smoothly the plane flies.
8.Adjust the wing tips – Fold the tips of each wing upward to create small stabilizers. These wing tips help balance the airplane in flight, preventing it from rolling or flipping over.
9.Ensure the wings are symmetrical – Check both sides of your airplane to ensure that the wings are symmetrical in size and angle. Symmetry is key to ensuring that your paper airplane flies straight and stable.
10.Test your paper airplane – Hold the base of your paper airplane with a light grip and give it a gentle toss. Throw it at a slight upward angle to see how far it can glide. A well-made paper airplane should soar through the air smoothly.
11.Make adjustments if necessary – If the airplane doesn’t fly straight or tends to dive, adjust the folds. You can tweak the angle of the wings or add slight bends to the tips to improve flight performance.
12.Experiment with different designs – Once you’ve mastered how to make a paper airplane, try experimenting with different designs. Adjust the size of the wings, nose, and stabilizers to see how it affects flight distance and stability.
By following these steps, you’ll quickly understand how to make a paper airplane that glides effortlessly. Learning how to make a paper airplane is not only fun but also a great way to engage with basic physics and design principles.


GIPHY App Key not set. Please check settings